I can remember a time when I was new to the practice and a teacher made the reference that down dog was a resting posture. “Yeah, right!” Is what popped into my head. (Okay it might not have been that G-rated.) The blood was rushing to my head, my arms were fatigued, and my hamstrings were screaming at me. It was not restful at all. Fast forward many hours on the mat and now I know what the teacher meant. Over tightness, struggle, and fatigue have been replaced by openness, peace, and stamina. Adho Mukha Svanasana can be restful.
Whether you are just starting out or if you can hang out in adho mukha svanasana for days, this is a great pose to refine and work. It works it’s way into a vinyasa practice so frequently, down dog can be easy to blow past or just check out of, instead of really finding focus.
Adho Mukha Svanasana, Downward Facing Dog, or Down Dog shares a lot of the same alignment and energy of High Plank, which was the focus of week 5. In Down Dog, the hands are creating hasta bandha (hand lock), spine is long, feet are grounded, hips are reaching, belly is lifting, crown of the head is reaching, and legs are lengthening (notice I didn’t say straight). This pose is great for strengthening the wrists, building upper body confidence, opening the hamstrings, and finding balance between prana (rising energy) and apana (grounding energy). If inversions are part of your practice or you would like them to be, creating a down dog with structural integrity is a must.
To create a confident and restful down dog pose, try working on these variations.
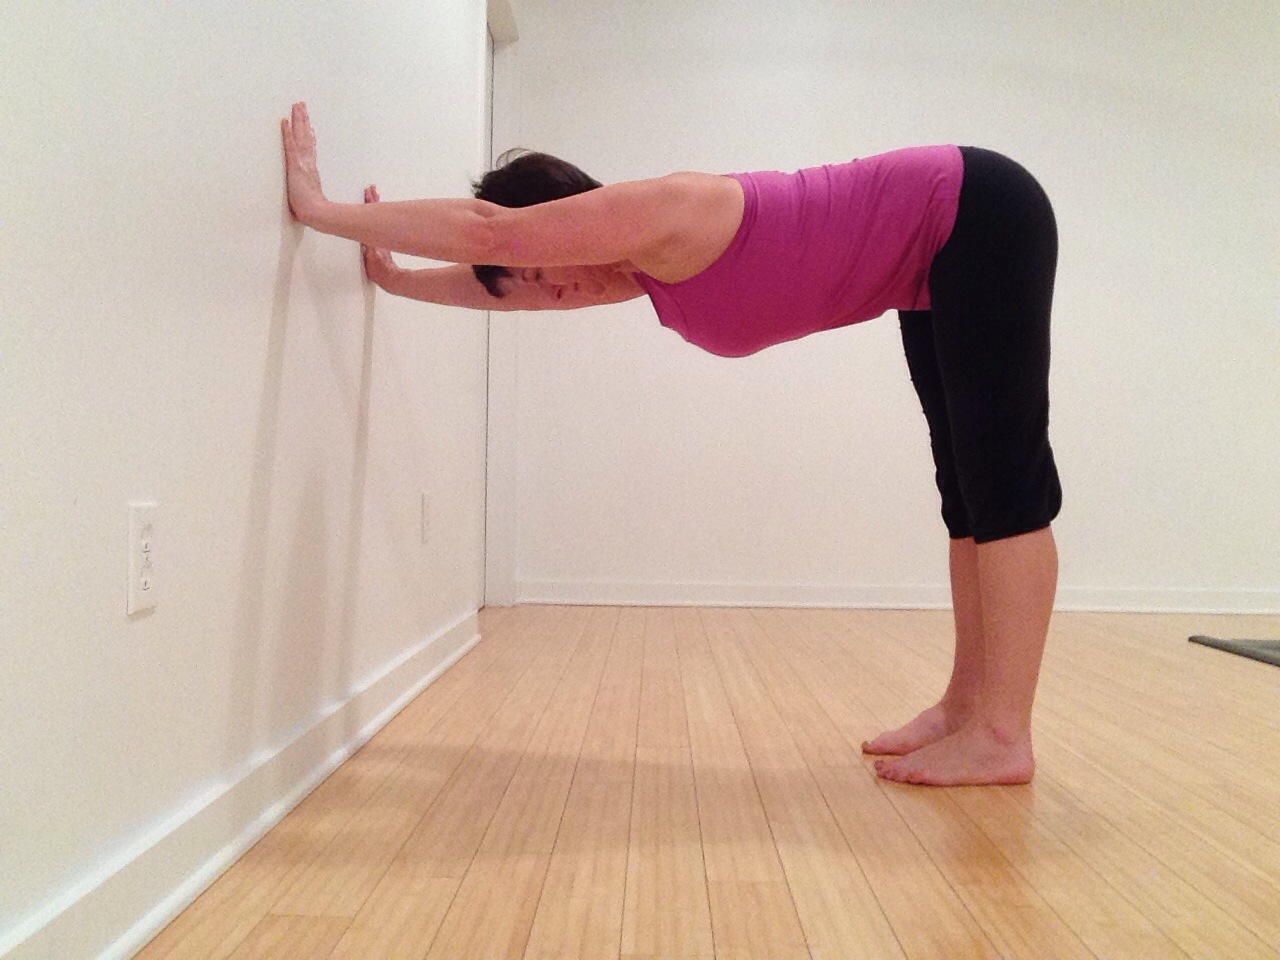 Option 1 – Down Dog at the Wall. This is a great variation if you have challenges inverting or with the strength of your wrists. Walk the hands down the wall to about hip height as you walk your feet away from the wall and find the body bent at a 90* angle. The angle can be reduced as needed. Find Hasta Bandha, spread the hands, press the knuckles, heels of the hands, and finger pads into the wall. Suction cup the middle of the palm away from the wall. If needed have a soft bend in the knees, then press the tail behind you. Lift the belly away from the floor and shrug the shoulders away from the ears.
 Option 2 – Down Dog with Knees Bent. From all fours, find hasta bandha, then shrug the shoulders away from the ears, tuck the toes and lift the hips. Bend the knees so the arms can be straight and the tailbone can reach high. Reach the crown of the head between the hands and the heart toward your toes. Keep the back broad, don’t allow the shoulder blades to collapse. Press the tailbone high and straighten the legs only until you feel the gentle pull of the hamstrings. If it’s too intense, soften the knees. Just pressing the tailbone up will provide plenty of challenge.
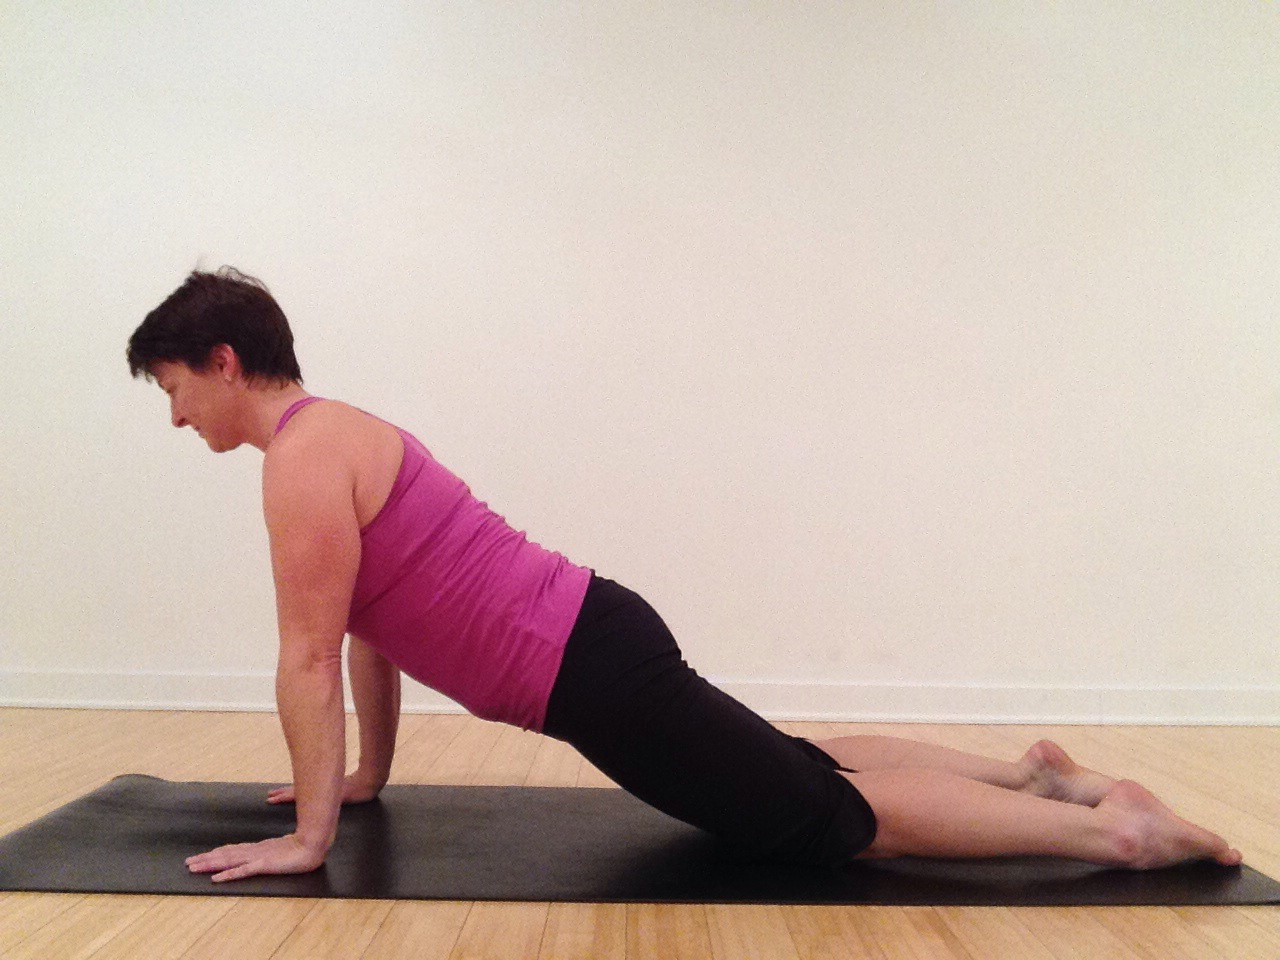
 Option 3 – Down Dog. From the bent knee variation, slowly begin to straighten the legs. As you do, reach the heels to the floor and the tailbone high. Lift the knees towards the hips. Keep the activity and placement of the hands as you hug the arms to the midline of the body, almost as if you could put a wrinkle in the mat between your hands. You will feel the muscles on the sides of the body begin to fire. Focus on lifting the belly away as the hands and feet ground. Balance the grounding down and reaching up energy until you find equality.
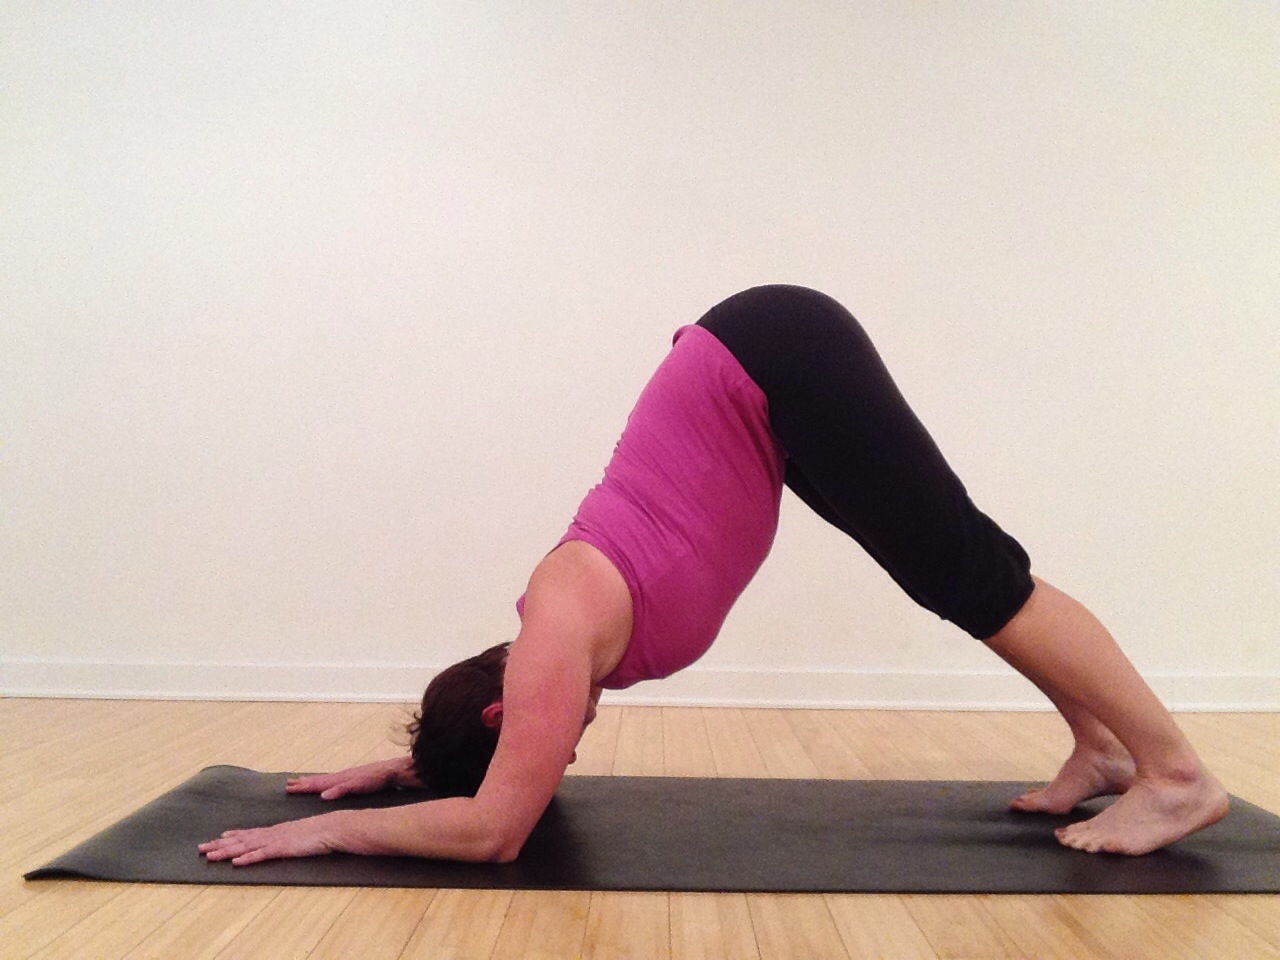 Option 4 – Down Dog Variation, Dolphin. From all fours, place the forearms on the ground, parallel to one another, and shoulder width. This variation takes the pressure off the wrists, but creates more challenge to the opening of the shoulders and hamstrings. If needed, soften the knees, so you can invite openness to the shoulders.
About 13 years ago, I struggled with weak wrists. I even had a synovial cyst of joint fluid on my wrist. When I asked my doctor about the cyst he said that we could drain it, but most likely it would return, so I left it alone. By focusing on this pose and other postures where my wrists bear weight, they are now very strong and the cyst has disappeared. It took time to build the strength and structure, but now I’m very confident in the strength and integrity of my wrists.
Whatever aspects of this pose you refine this week, be sure to work where you feel challenged, but also where you can breath and relax around the work. Follow this weekly challenge @suzannewrightyoga on Instagram or at Suzanne Wright Yoga on Facebook. If you post your pictures or share about your experience be sure to tag #PowerPose and @suzannewrightyoga.