1 Comment

#PowerPose Week 15 – Paripurna Navasana

Iyengar rates Paripurna Navasana or Complete Boat Pose as a 2 on his challenge scale in Light on Yoga.  In comparison to some of the other postures I suppose that’s a fair rating, but don’t let the low number fool you.  This posture requires core control through the front and back sides of the body, extension through the legs, arm, and crown,  balance, and focus.  When held for an extended period of time, inviting peace and softness to the posture can be just as challenging if not more so than the physical requirements.

When practicing this posture, be mindful of any discomfort in the low back.  Modify the pose until you can maintain the posture with a long, strong, back that is free of strain.  Additional full body core work like high plank pose will help create the core integration that is needed for Paripurna Navasana.

Work on theses stages and variations of Boat Pose  to build strength, balance, and control.

IMG_0907_2
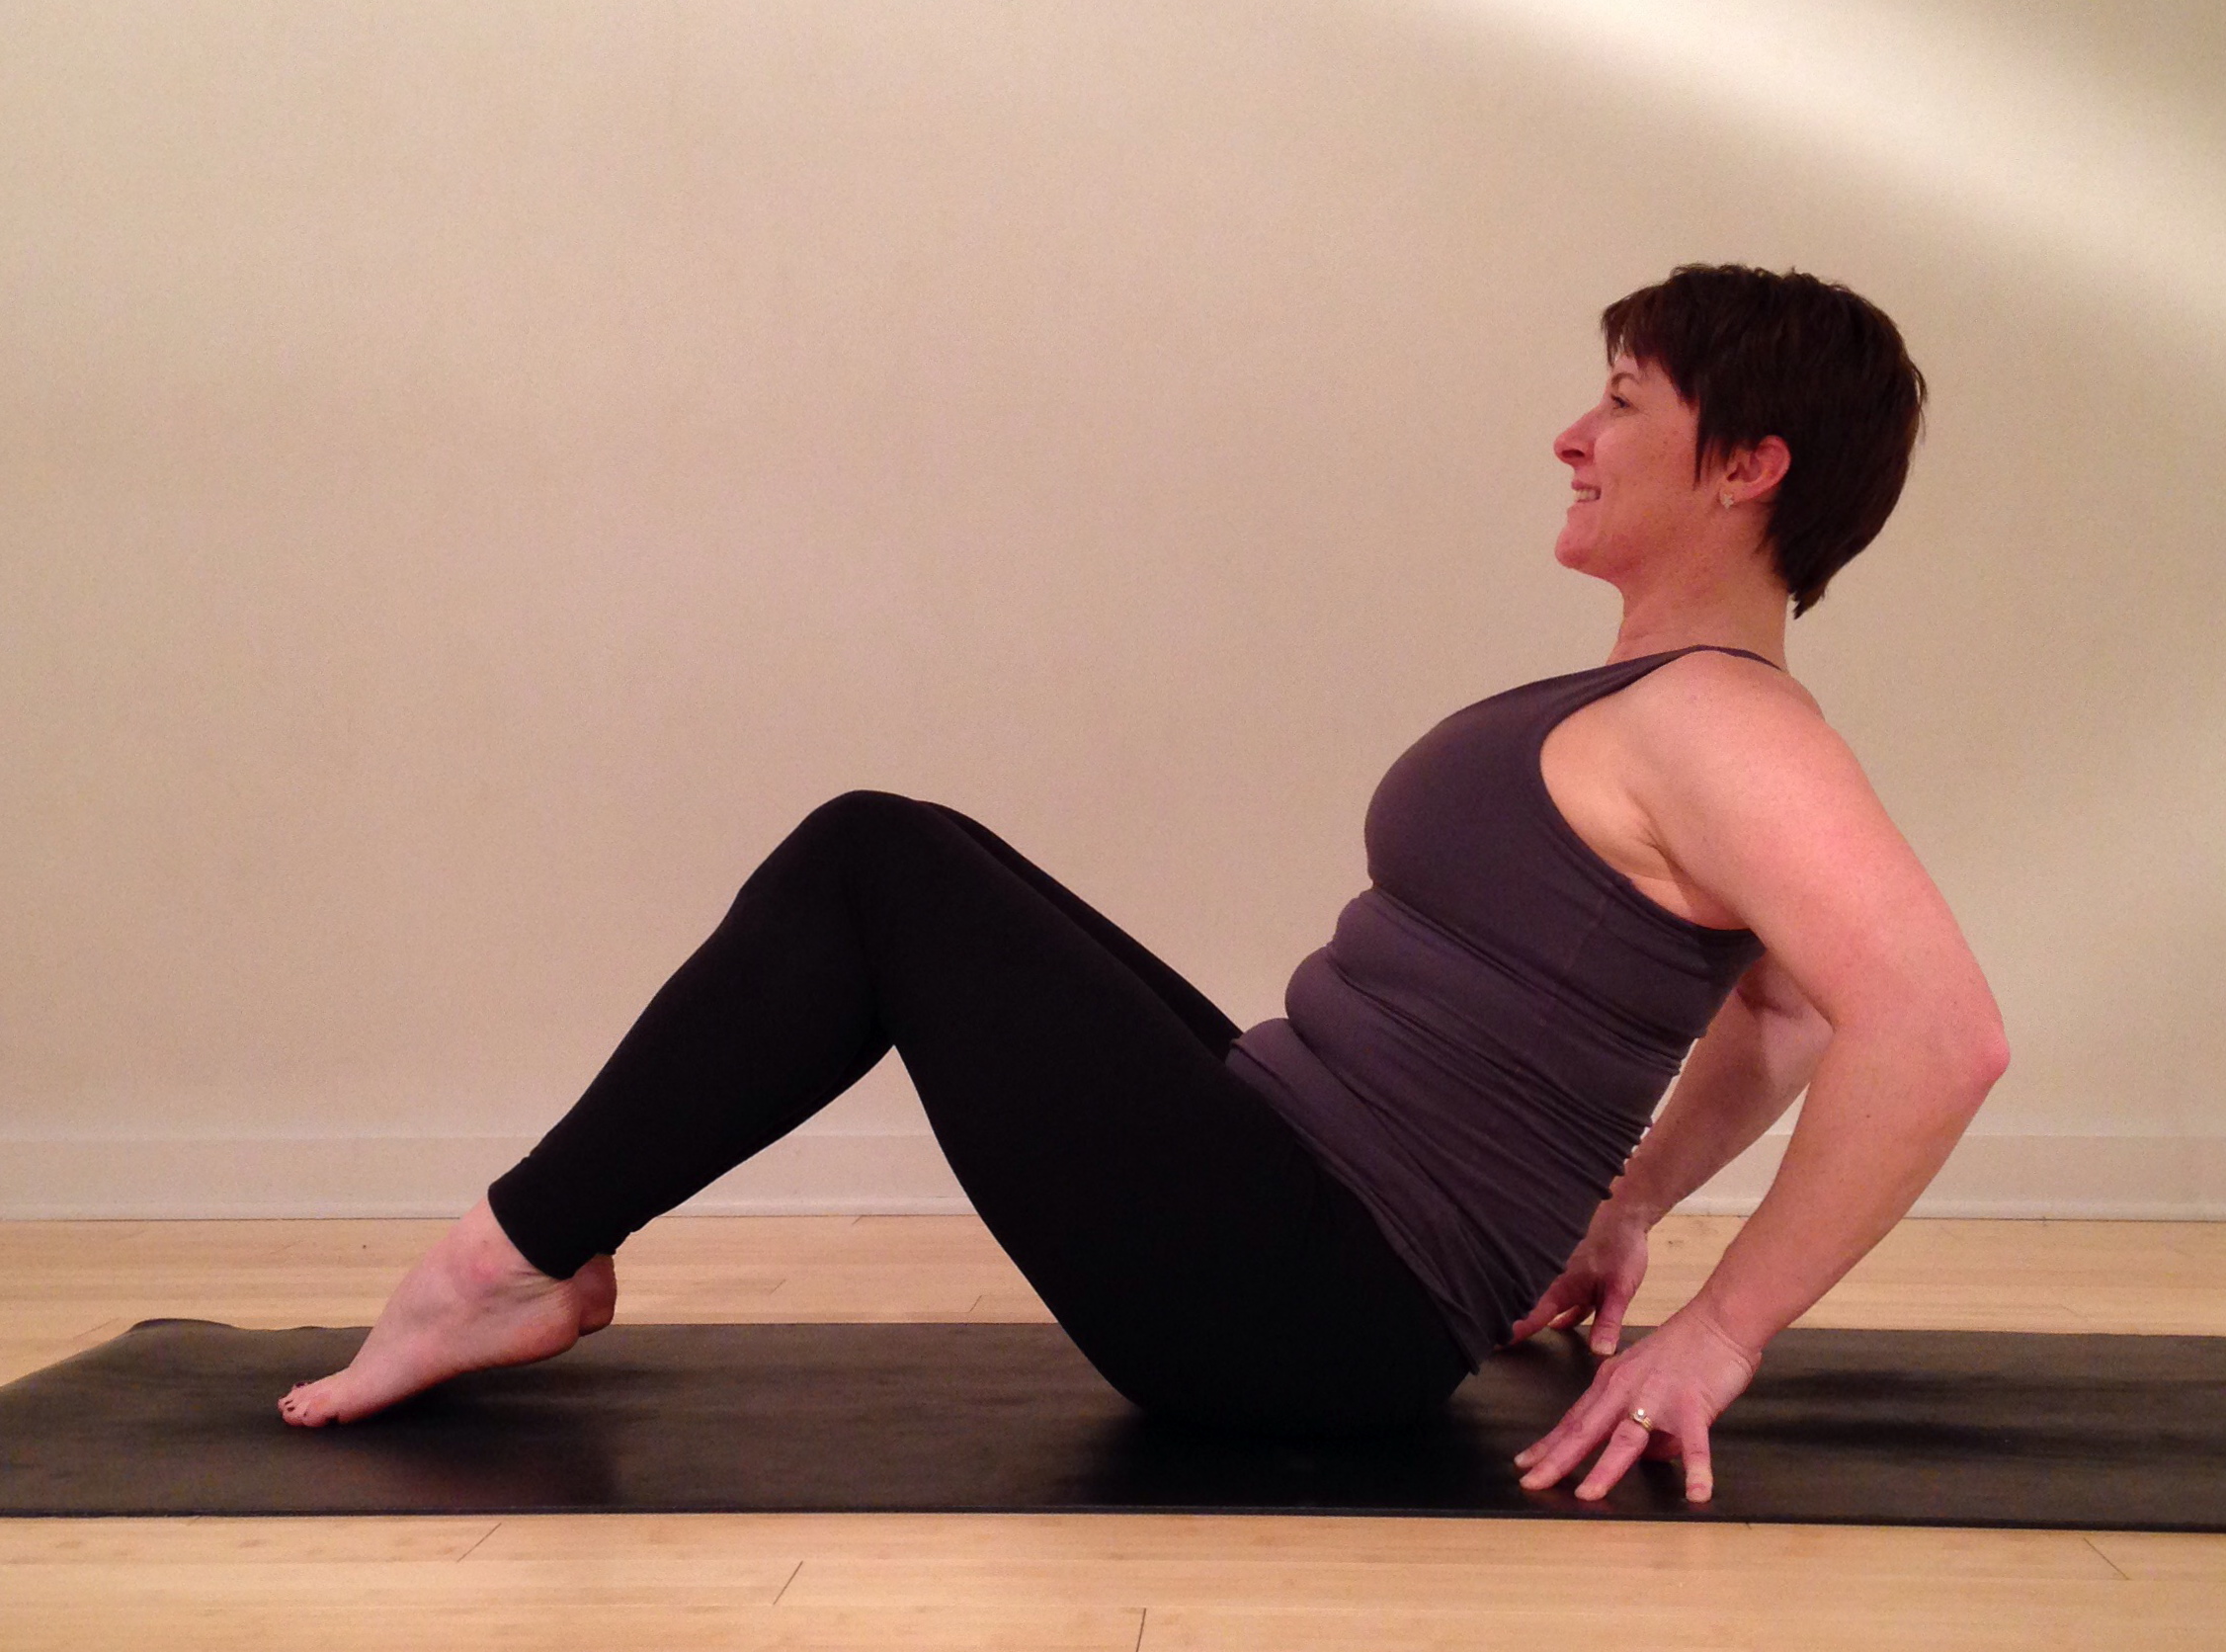
Option 1 – Anchored Boat.  Bend the knees taking the feet to the floor.  Lean back with a straight back and use the finger tips for support.  Keep the collarbones broad as you shift the weight just behind the sit bones.  As you shift back do not tuck the tail or rest on the sacrum.  Lift the heels, but keep the balls of the feet or toes anchored to the floor.  Use the core to keep the spine long as you find full relaxed breaths.  Build up until you can stay in this posture for 10 to 15 seconds without strain.

IMG_0909_2Option 2 – Boat Prep.  When you feel strong enough, release hands and the feet from the floor.  The rest of the body should not change.  Lift the legs, so the shins are parallel to the floor, hug them together with the shins and thighs spiraling towards the midline of the body.  Spread the toes like rays of sunshine.  The hands can offer support on the backs of the thighs.

IMG_0910_2
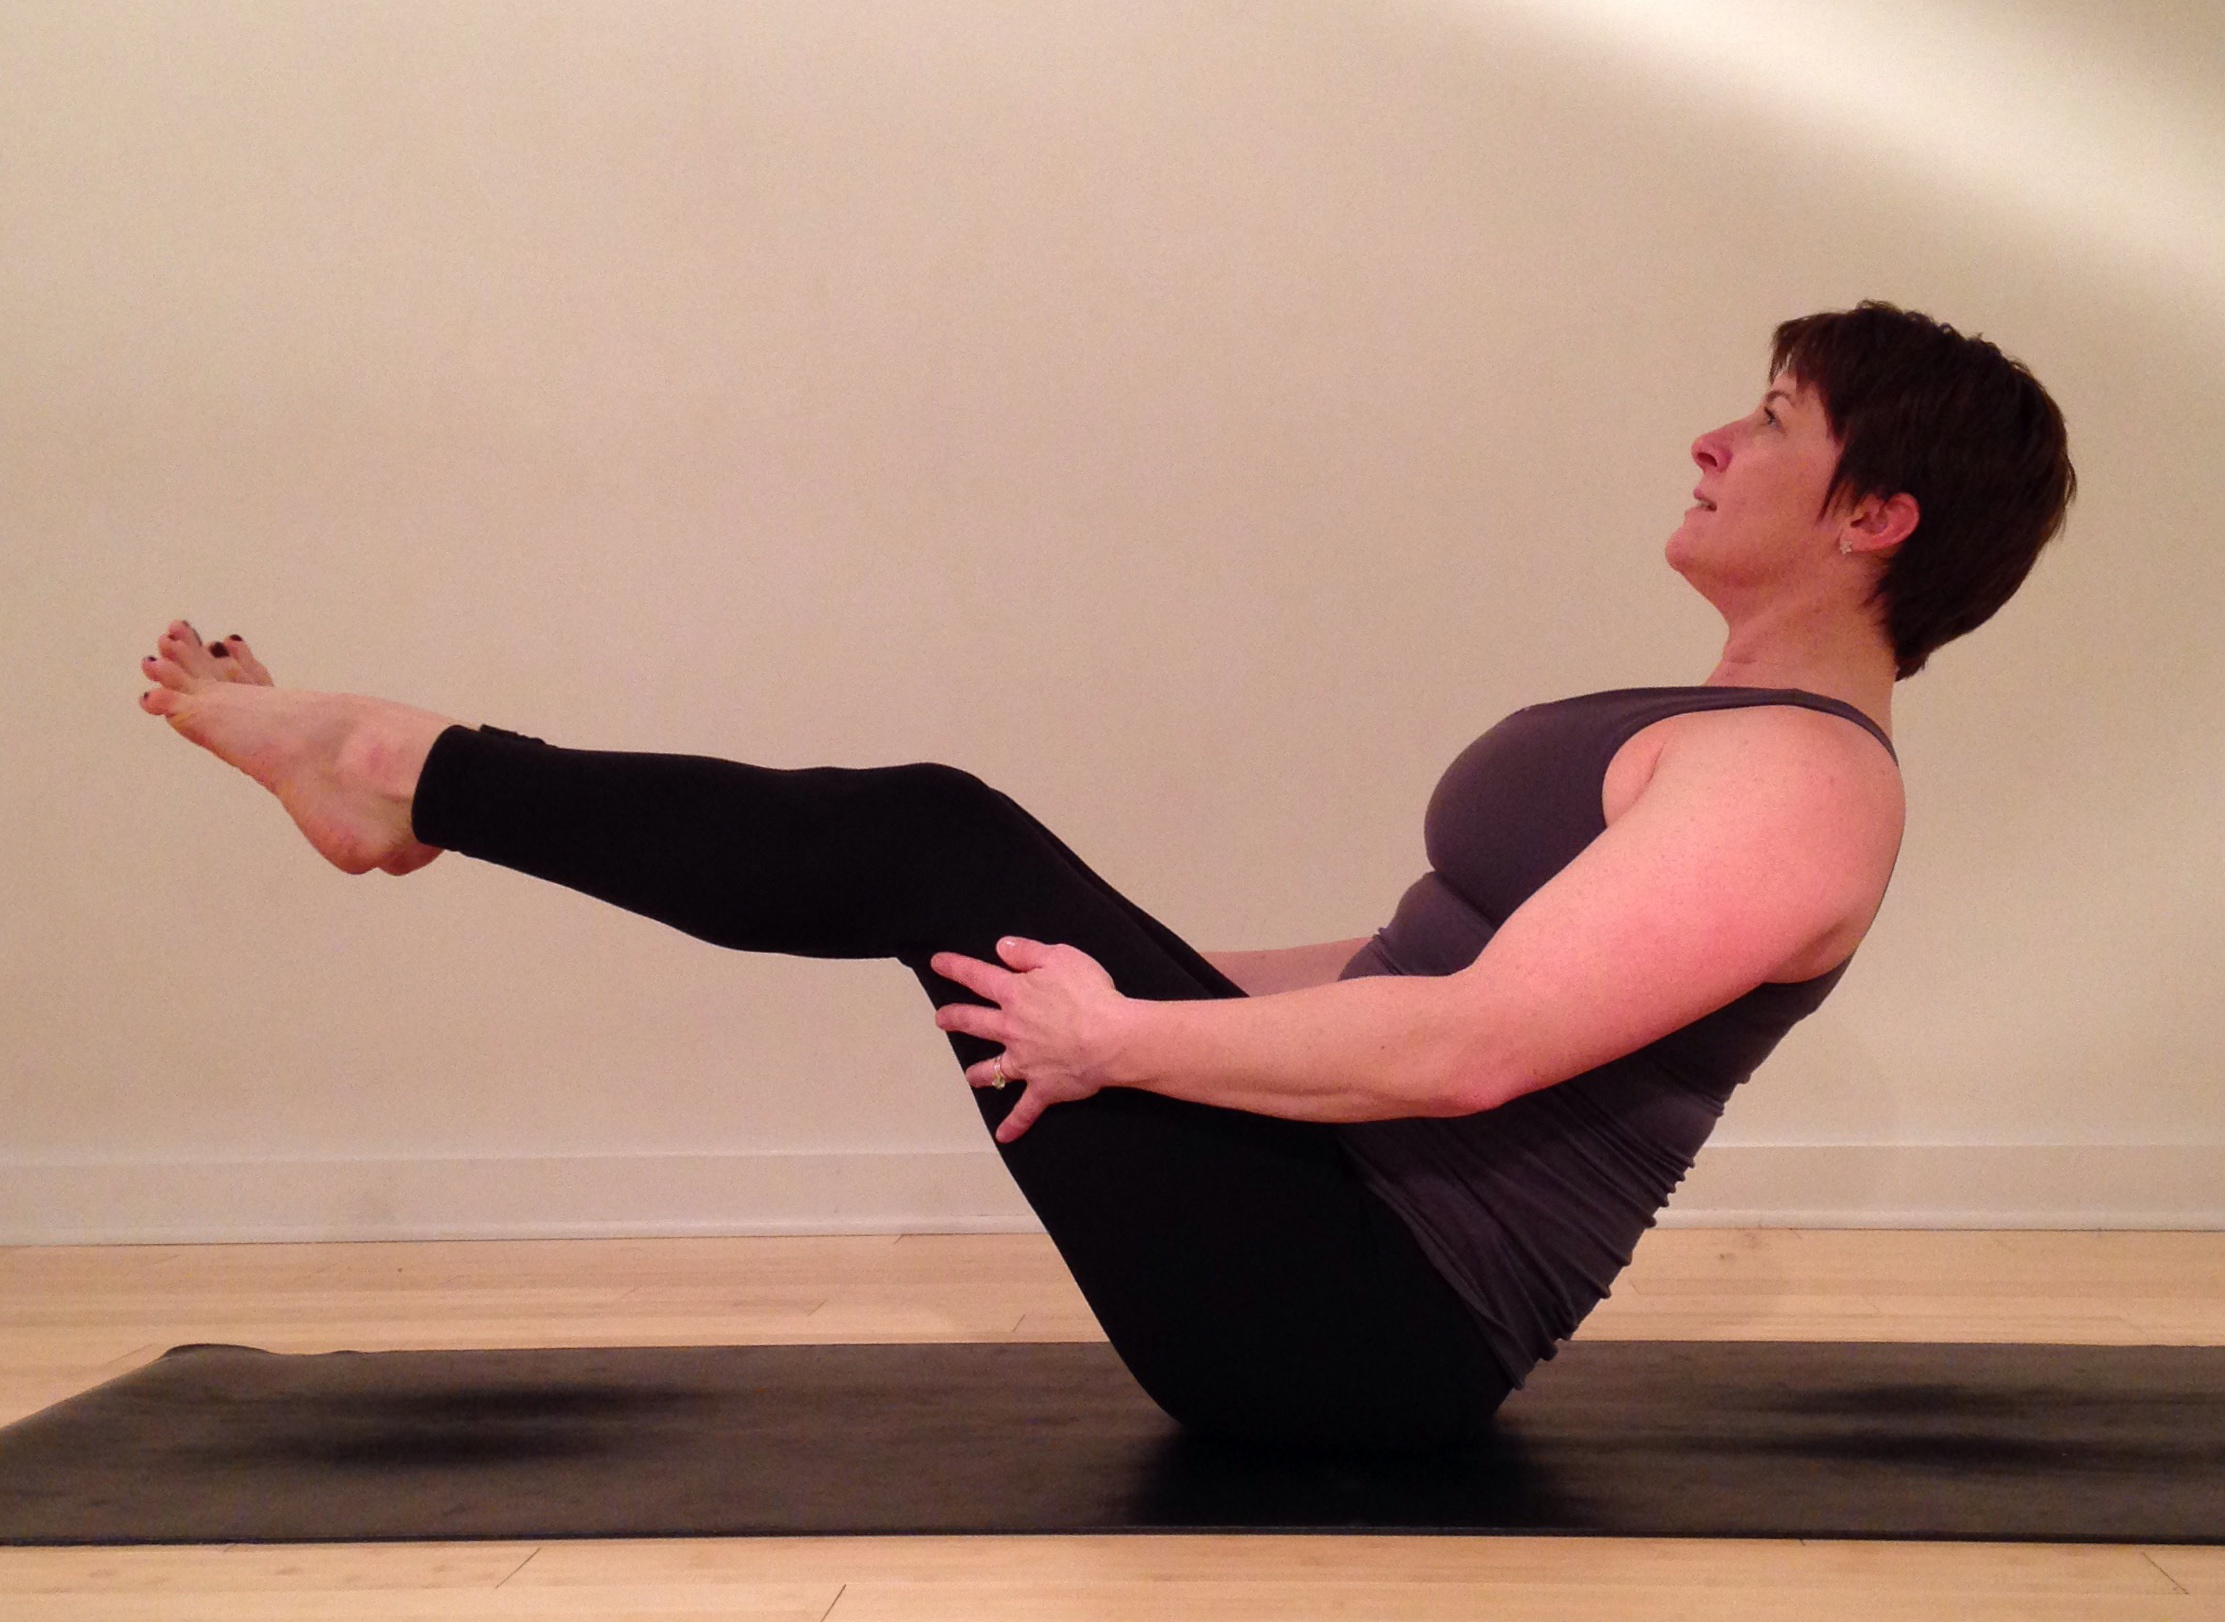
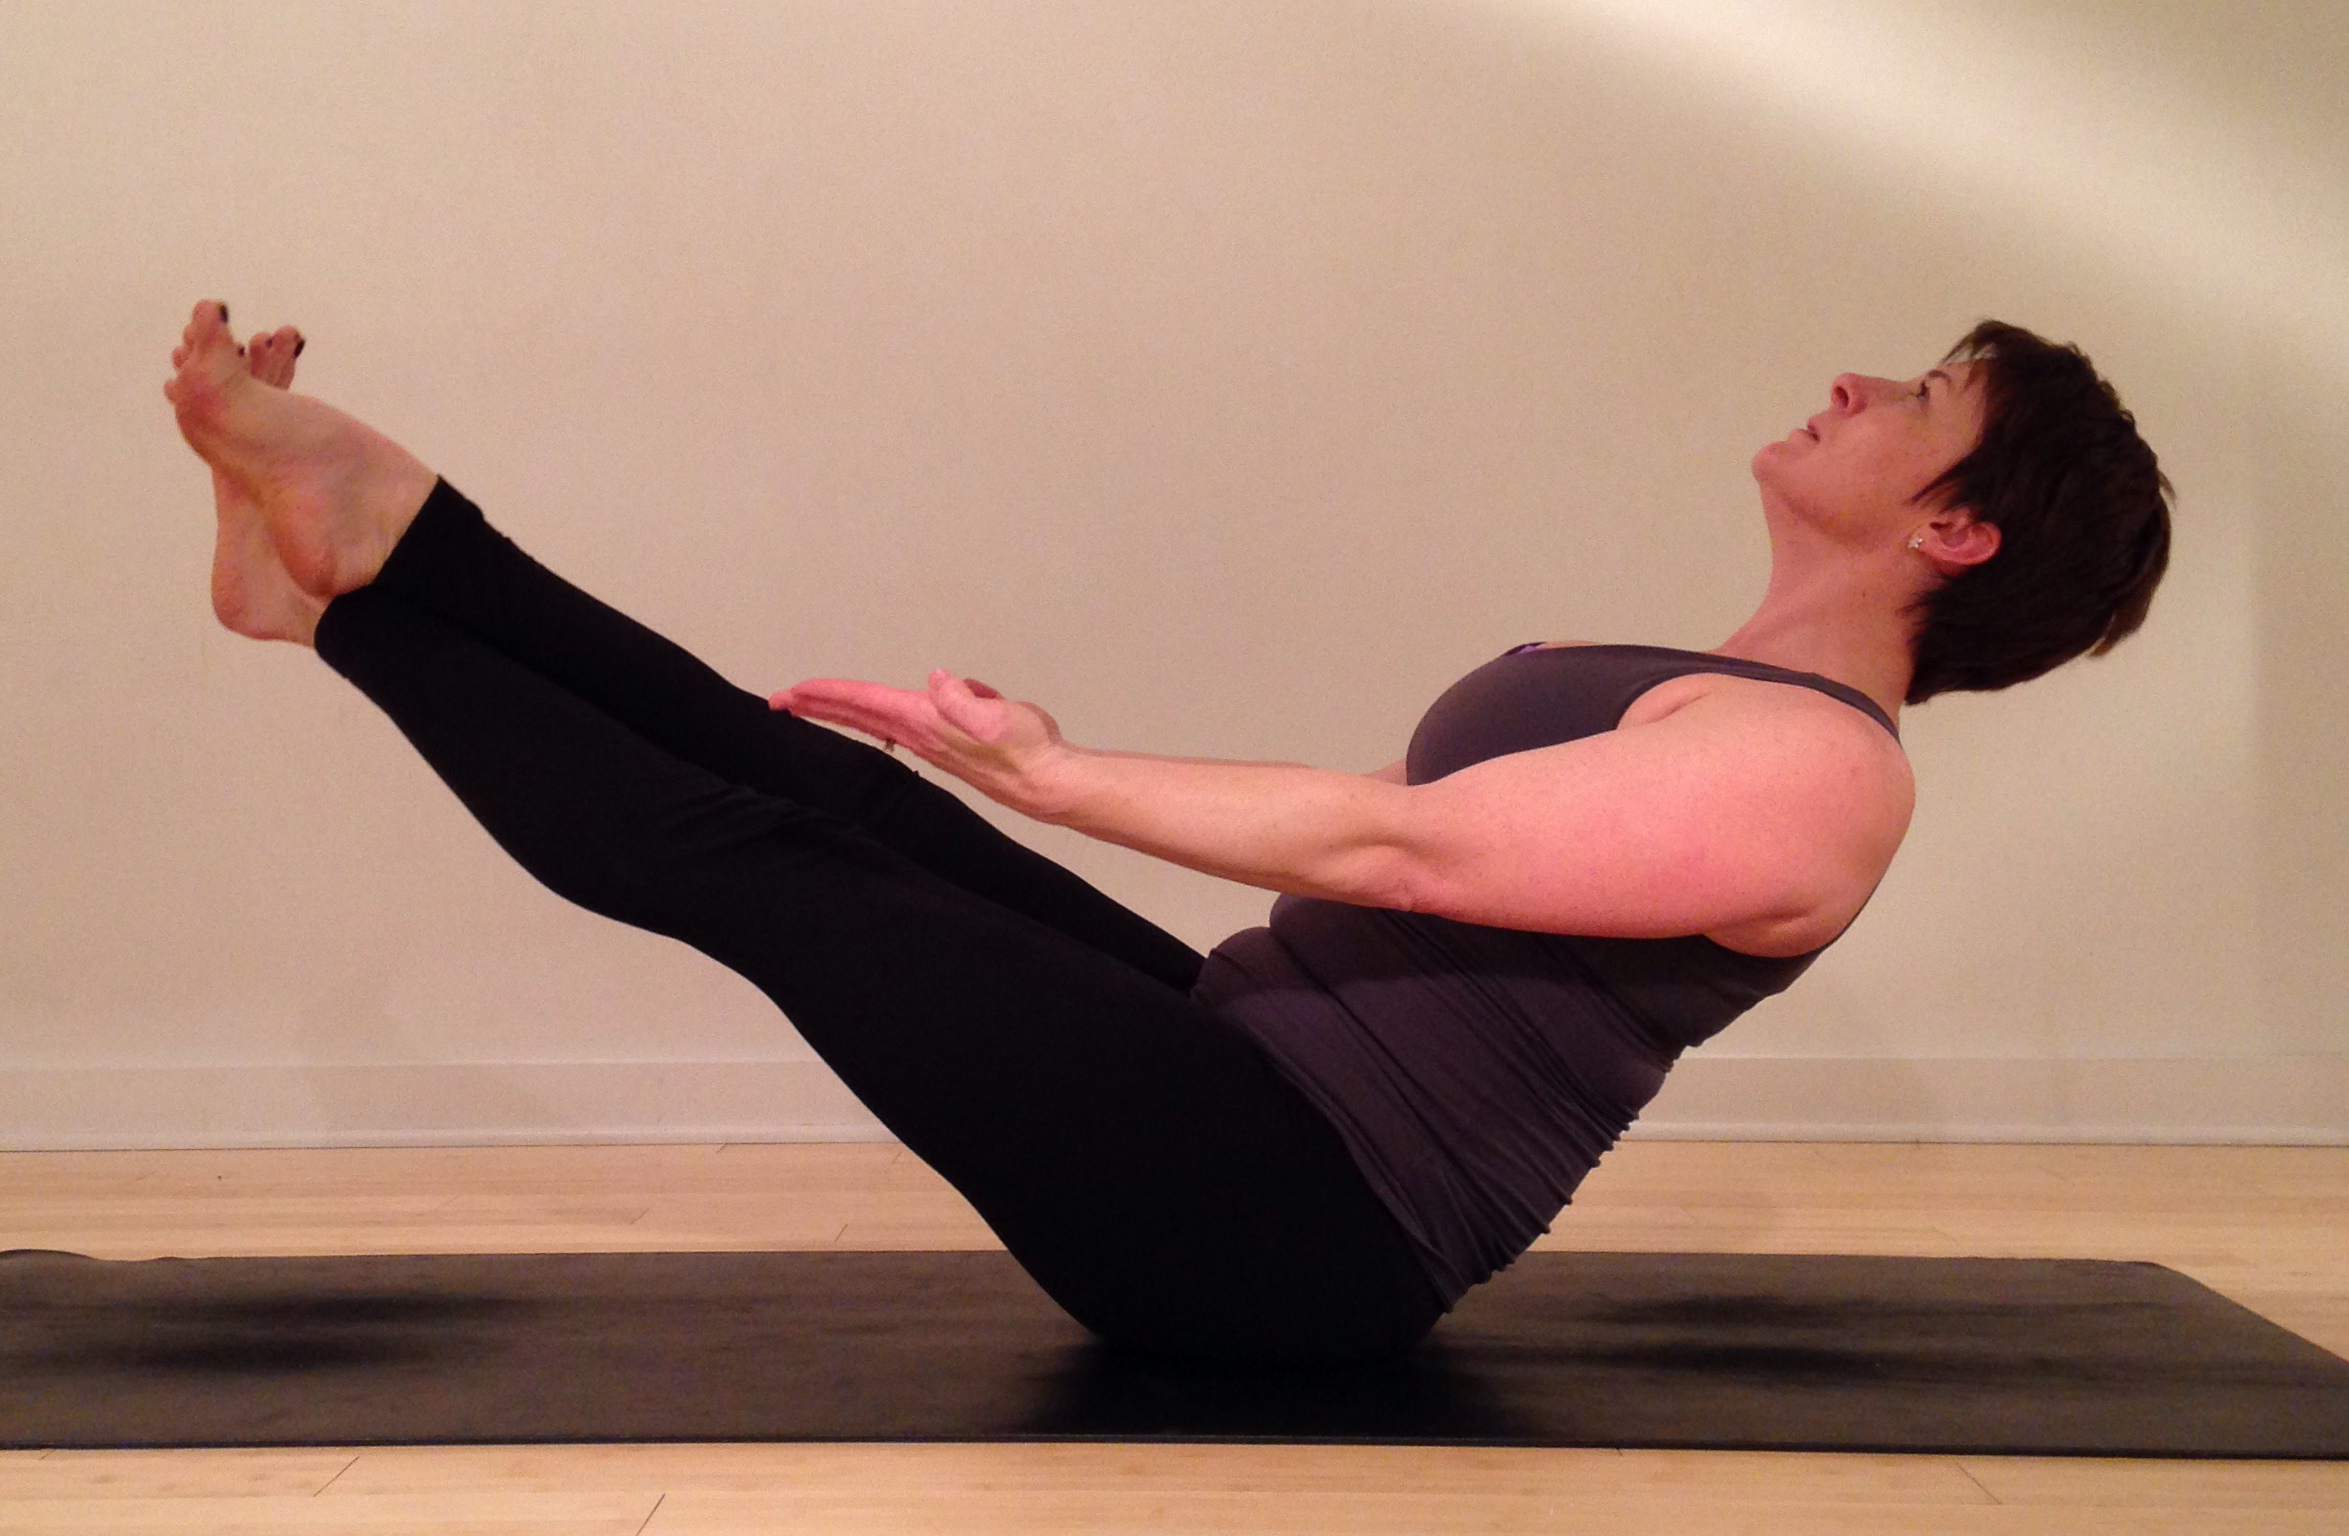
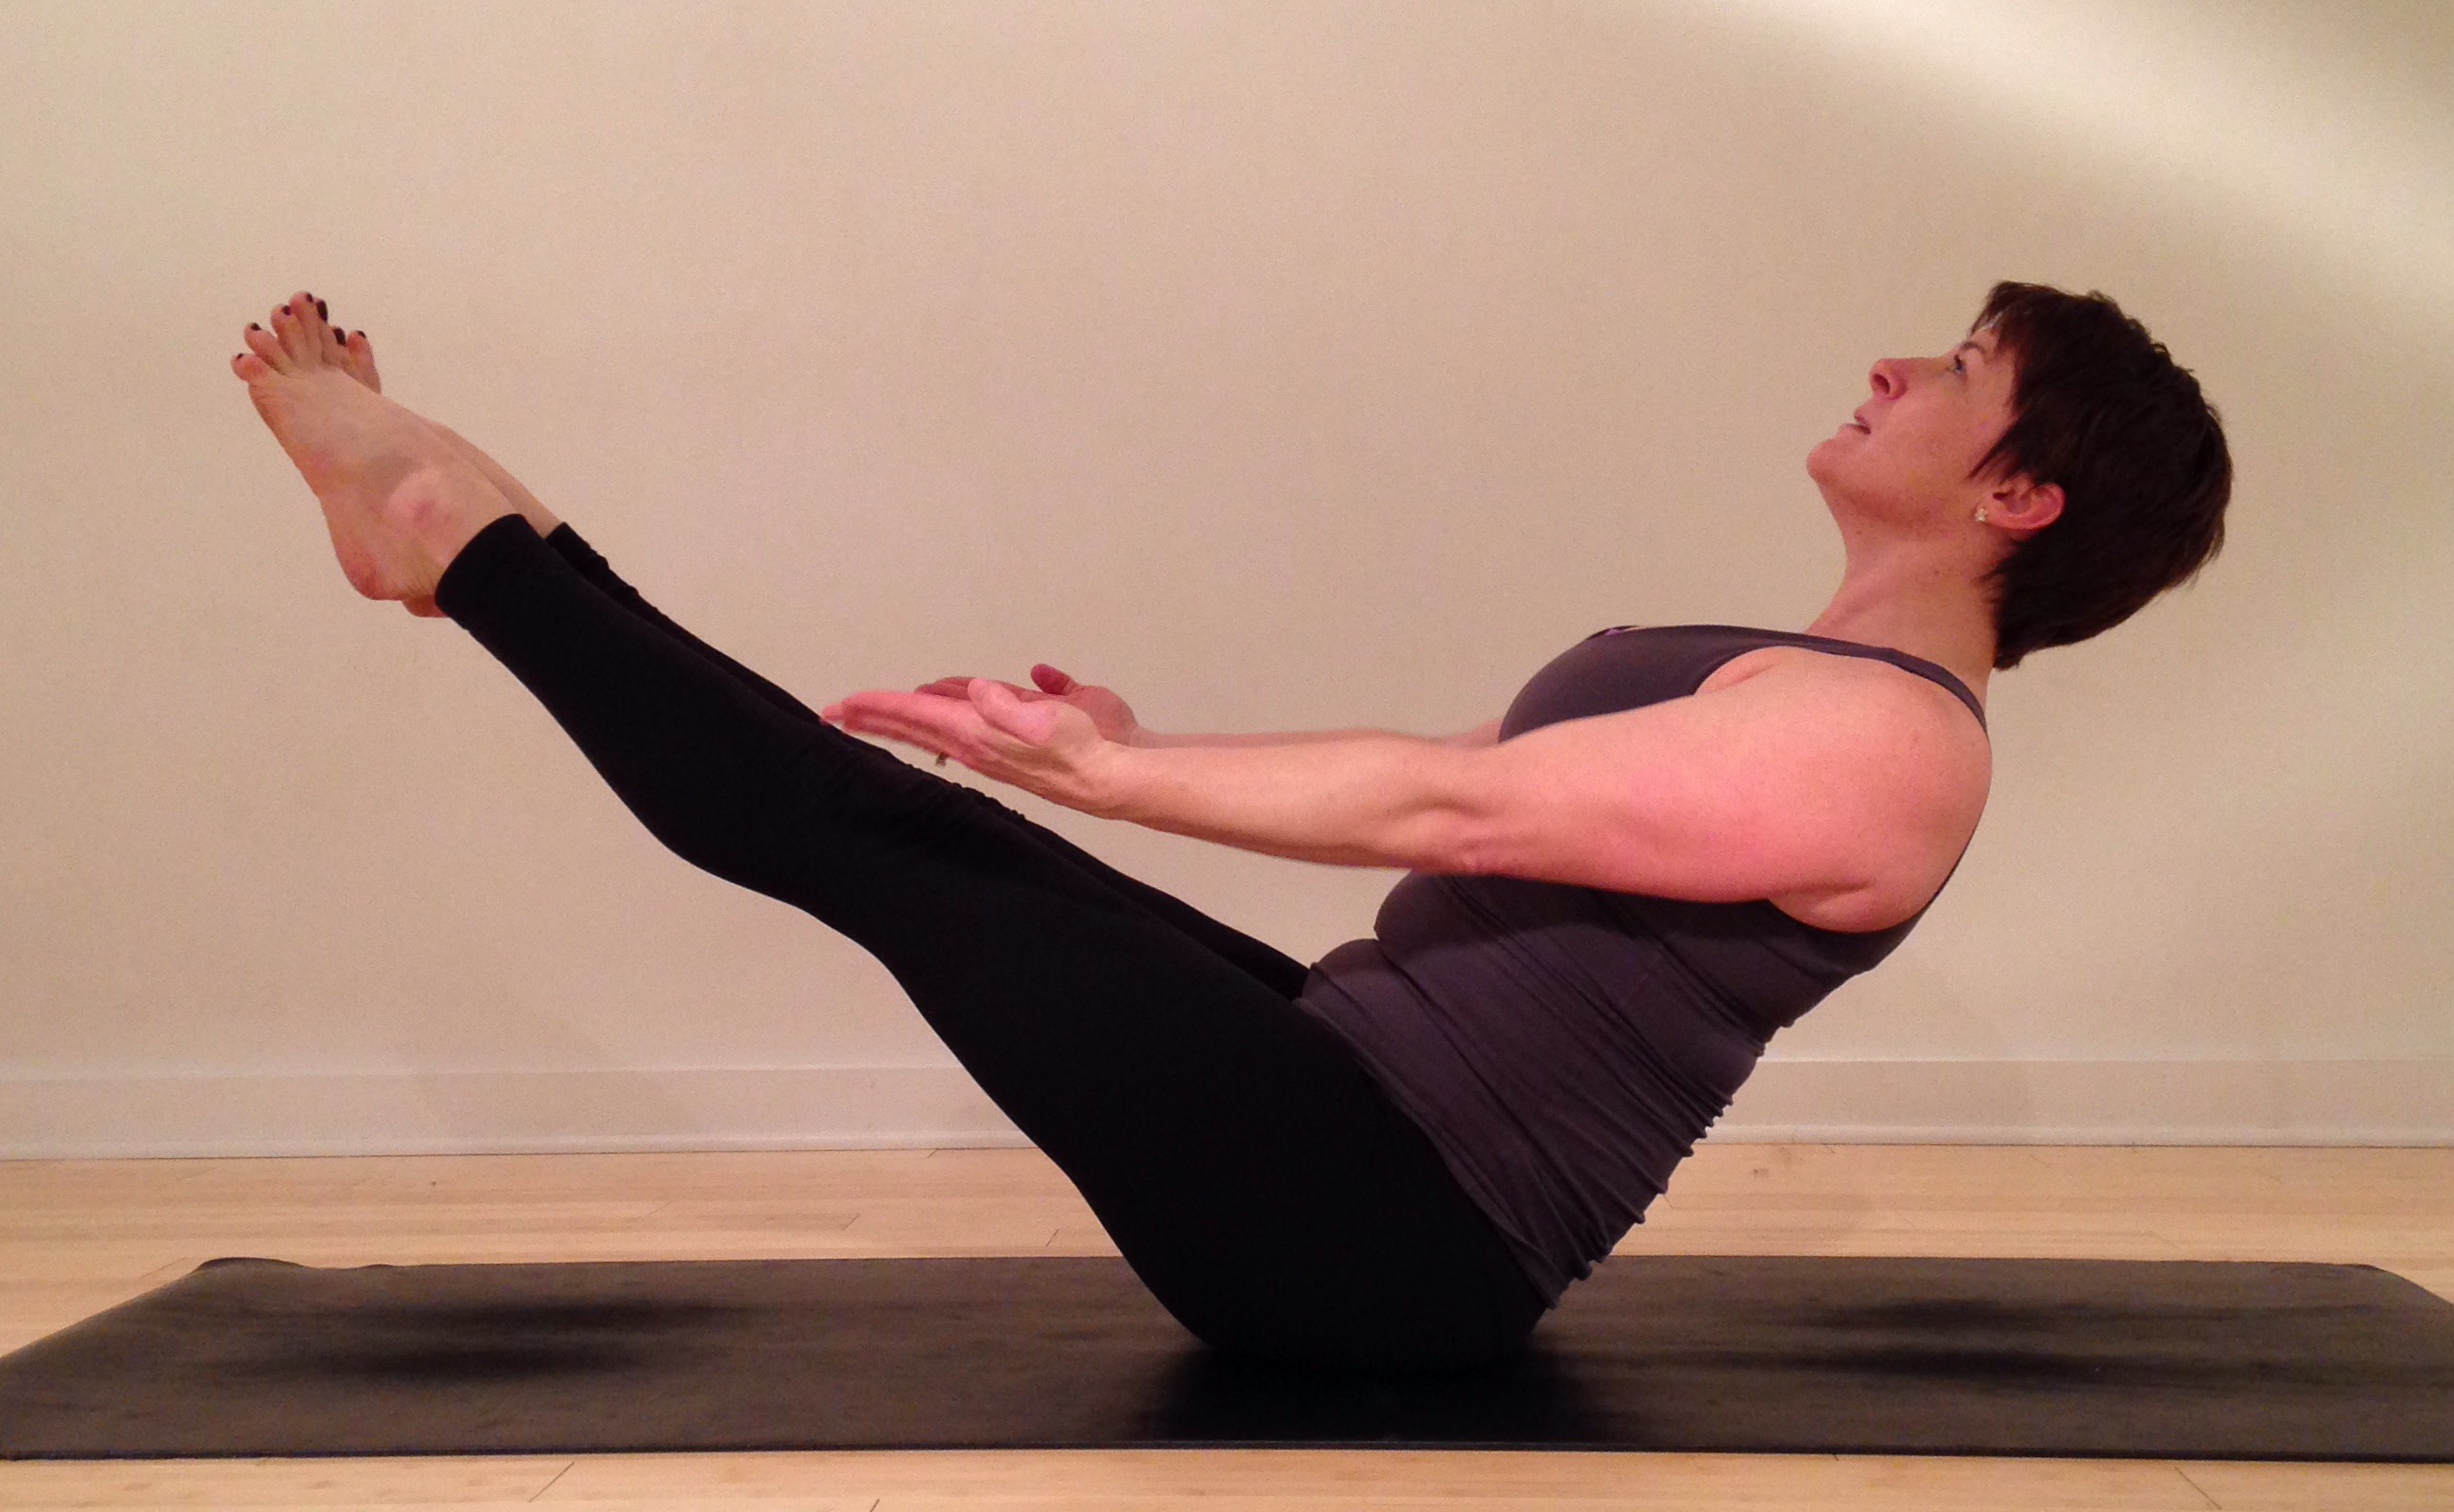
Option 3 – Complete Boat.  With the legs glued together, extend them long, pressing through the balls of the feet.  Extend the arms, parallel to the ground, hug the arms to the midline of the body without making contact with the legs.  Exaggerate the reach of the heart and the broadening of the back.  Iyengar recommends building up to 30 seconds in this posture. 

IMG_0916_2
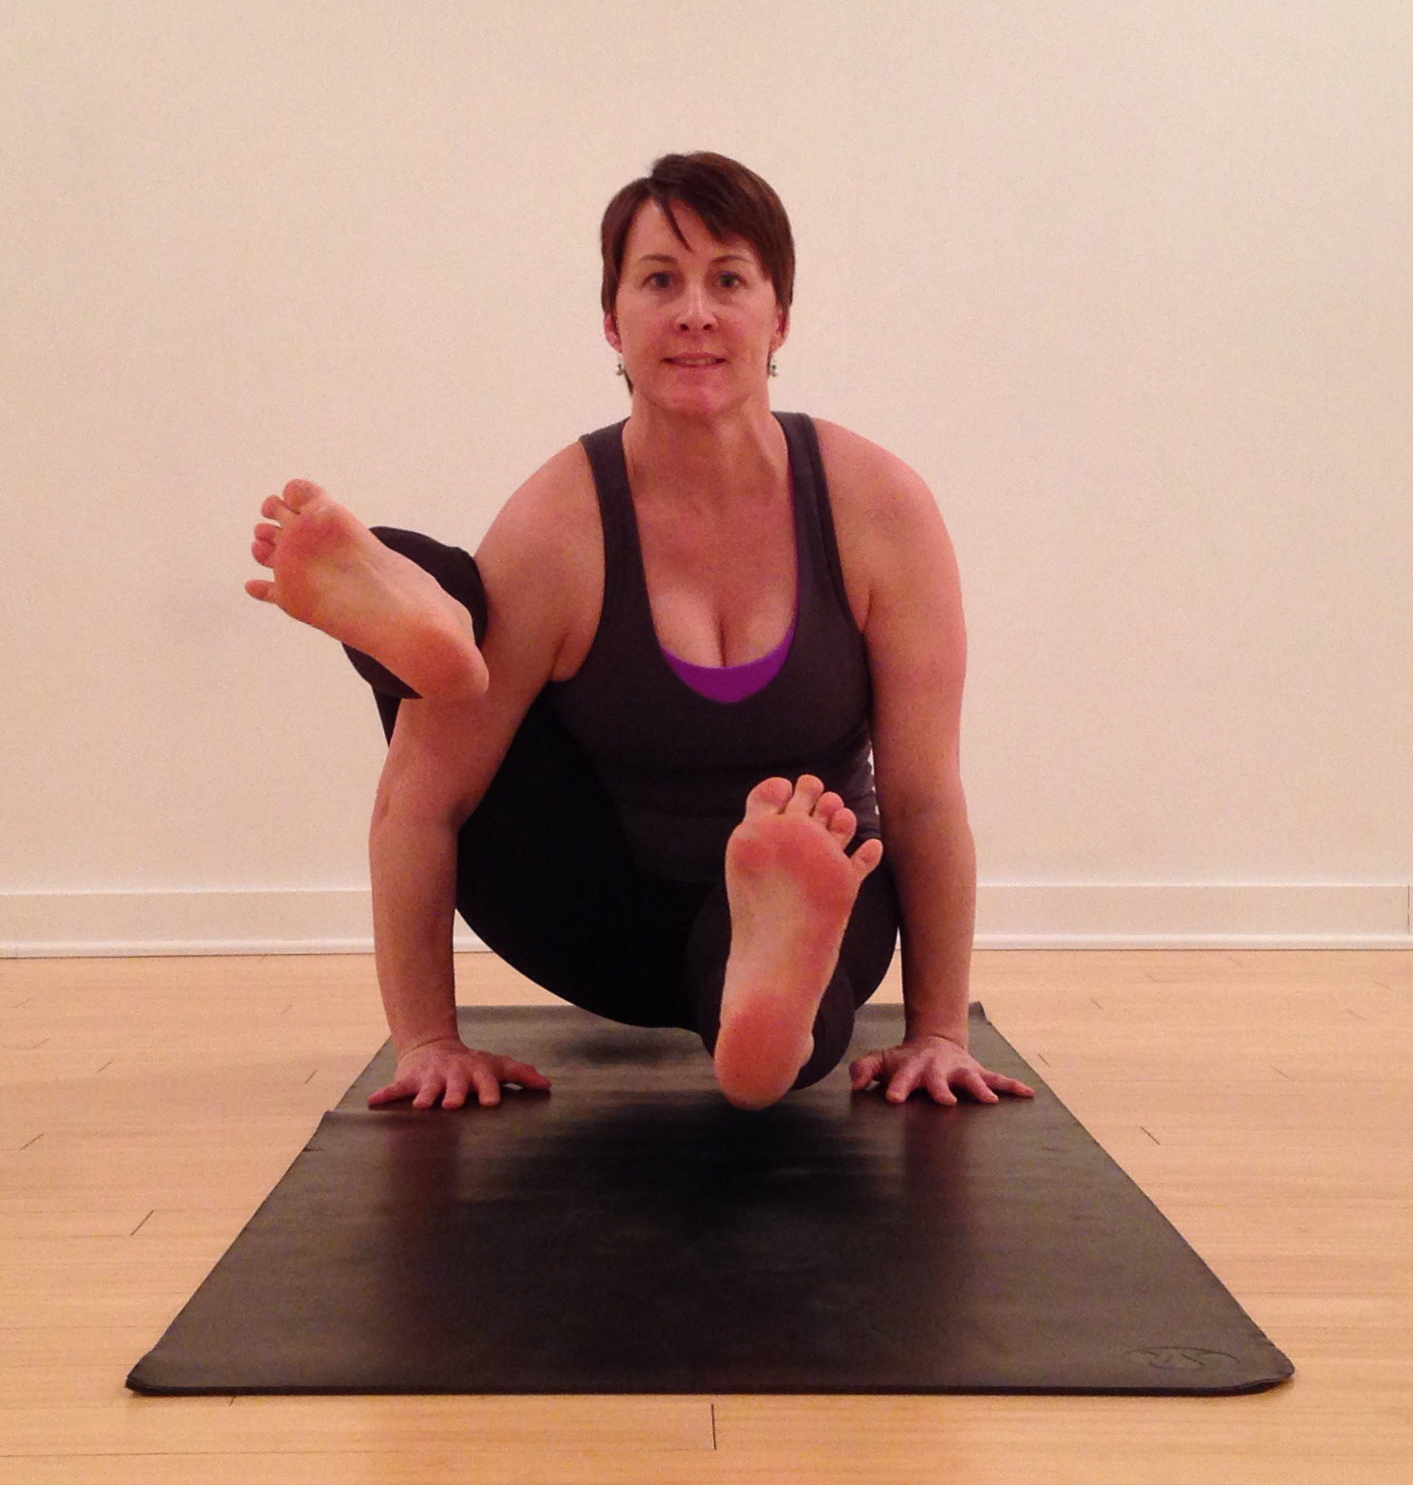
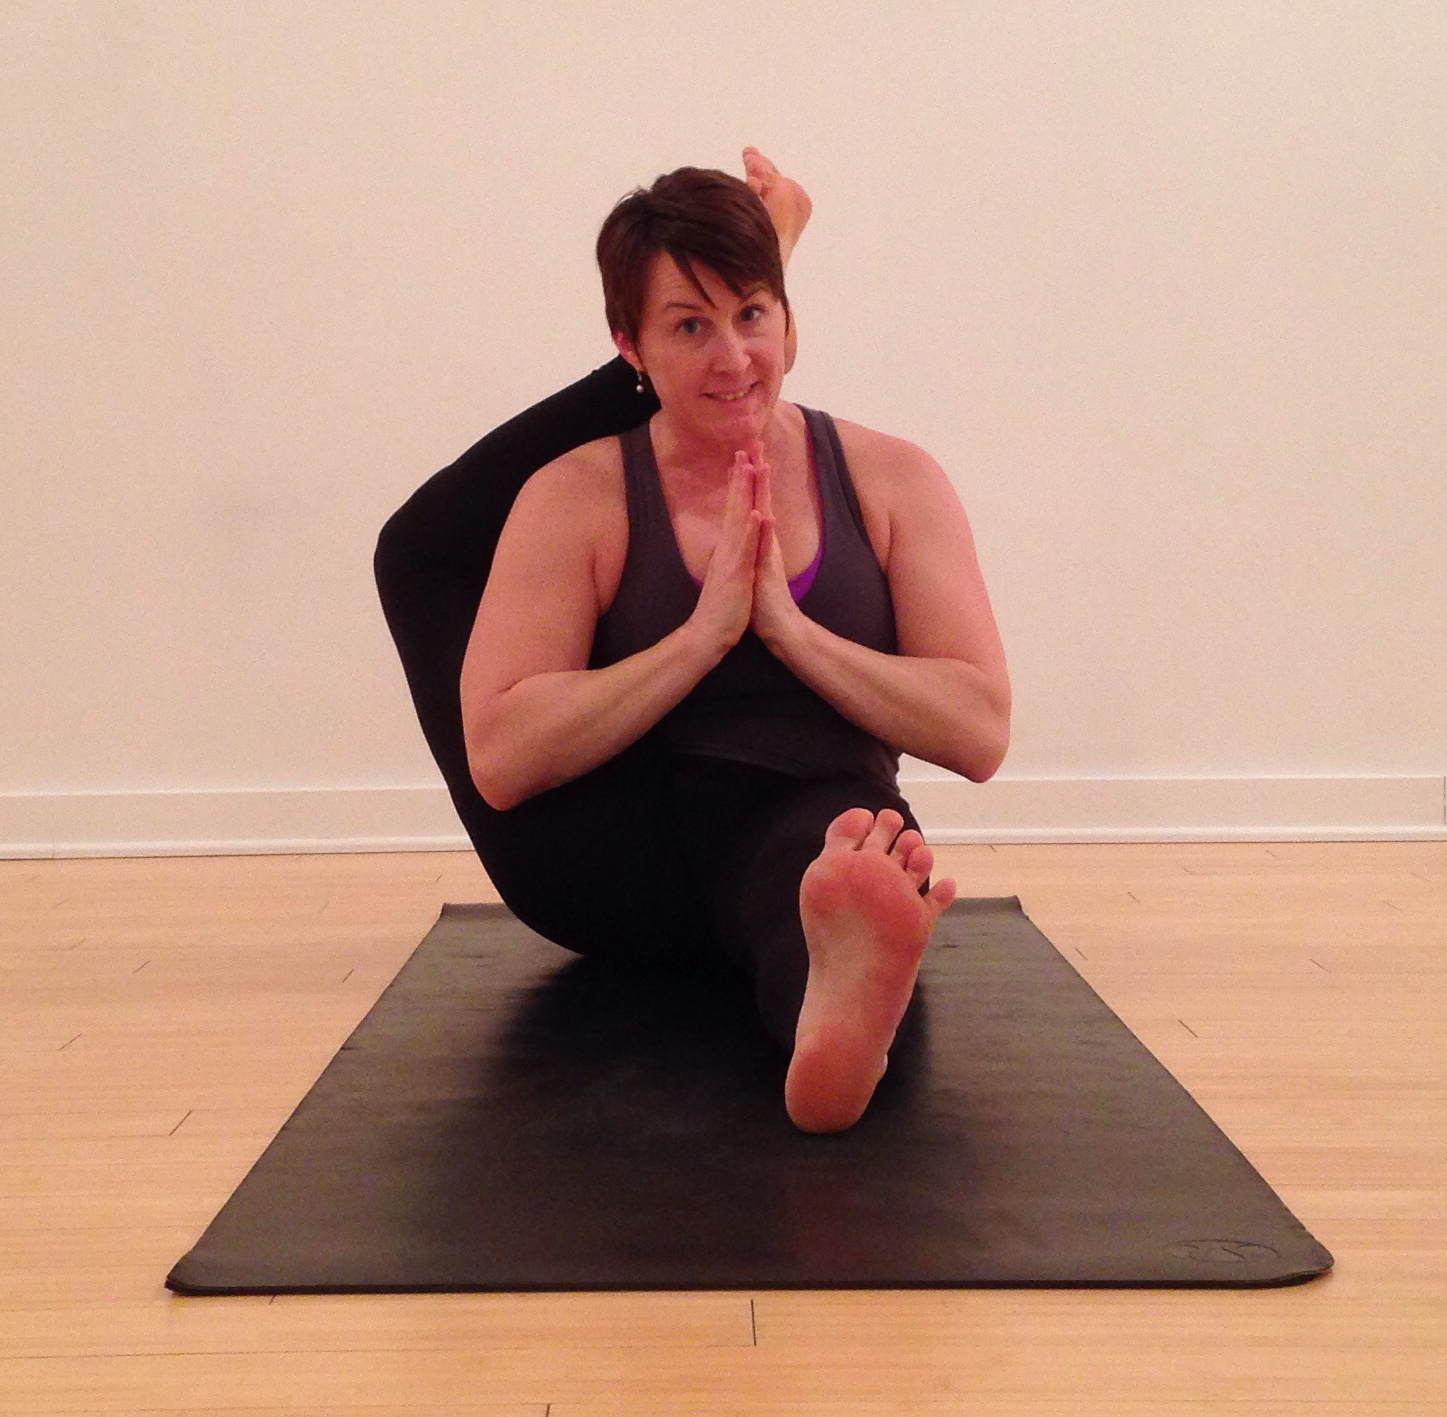
Option 4 – Boat with Legs Crossed.  This variation will make sense when next week’s pose is revealed.  Cross the legs at the ankles, keeping the feet active and the toes spread.  Squeeze the ankles together as you extend the feet and legs long.  Repeat with the opposite foot on top.  For added challenge place a block in between the thighs.

Another variation to this pose is to lower the back and legs to hover off the floor and then lift back up, navasana sit-ups or navasana core work.  When finding this movement, only release toward where you can maintain control and length in the back.  Over time, you will build up the strength to find the full range of movement.

Paripurna Navasana can feel very rigid, so invite softness to the breath, neck, jaw, and face.  Always work where you feel challenged, but also where you can breathe, relax around the work, and create positive energy.

Follow this weekly challenge @suzannewrightyoga on Instagram or at Suzanne Wright Yoga on Facebook.  If you post your pictures or share about your experience be sure to tag #PowerPose and @suzannewrightyoga.

2 Comments

#PowerPose Week 14 – Eka Pada Sirsasana

Are you ready for your awkward moment of the day?  Eka Pada Sirsasana or Foot Behind the Head Pose should do the trick. This major hip opener is challenging for it’s configuration, the need for coiling the spine, and lifting through the root.  It’s also a building block for other very challenging postures like Supta Kurmasana.  (Check out plates 372 through 394 in Light On Yoga for lots of examples.) Before attempting this posture, prime the body with hip opening, hamstring opening, and coiling core work. Energetically, prepare for challenge, a little awkwardness, and igniting your agni (fire) deep down in your core.  Here are a few options to deepen your hip opening and to work towards bringing the foot behind the head. IMG_0852_2Option 1 – Shin to Chest.  From a seated position, hold on to the foot and the knee, drawing the shin to the chest.  Work to bring the shin parallel to the floor.  When available, wrap the arms around the leg, clasping the hands together.  Sit up tall and activate the bottom leg, flexing the foot.  Keep the hip of the hugged leg heavy and rooted to the ground.  Lift through the pelvic floor.  Movement or rocking can help coax the hip joint to open. IMG_0868_2Option 2 – Leg Behind Shoulder.  As range of motion in the hip increases, try taking the leg behind the arm or over the shoulder.  Pull the knee behind you and get the thigh above the elbow.  Hands can be placed on blocks to create leverage to open the hips.  Hug the knee into the midline as you broaden through the collarbone. IMG_0870_2Option 3 – Leg Behind Shoulder with Lift.  To create heat and to prepare for future arm balances, press the hands into the earth.  Lift through the low belly and pelvic floor as you slightly tuck the pubic bone towards the belly button.  Fire up the long leg, hug the lifted leg to center and press away from the floor.  It may take a few tries until everything is working together. IMG_0872_2Option 4 – Leg Behind Head.  The next step is to take the foot behind the head.  There is a coil in the belly, but avoid an exaggerated hunch in the back.  The heart and the spine are trying to balance the pose with reaching and opening.  Use the back of arm the to accentuate the hip opening of the bound leg.  Find activity through the feet as you breathe.  It’s okay to chuckle, this probably isn’t the most common configuration you’ll find your body in today. Even if this pose feel awkward it shouldn’t cause an undo amount of strain.  If so, take a step back from the options and intensity, focus on the opening of the hips and try again when you are ready.  Always work where you feel challenged, but also where you can breath, relax around the work, and create positive energy. Follow this weekly challenge @suzannewrightyoga on Instagram or at Suzanne Wright Yoga on Facebook.  If you post your pictures or share about your experience be sure to tag #PowerPose and @suzannewrightyoga.

2 Comments

#PowerPose Week 13 – Parsva Bakasana

The twisty flying pose of Side Crow or Parsva Bakasana is the power pose this week.  With all the New Year’s talk of letting go of the past, detoxifying, setting goals, and getting a strong start to 2015 it’s the perfect fit.

If Bakasana or Crow Pose is in your practice, then you’re off to a good start.  The fundamentals established in crow pose are the base of this posture.  Before working on this pose, fill your practice with twists, side lengthening, coiling, and uddiyana bandha activation.  Then, you’ll be ready to attempt flight.

When I teach this pose, I’m often asked if students should balance on both elbows/arms or just one.  Typically, I’ll teach beginners to make contact with the thigh to one tricep/elbow and the hip to the other tricep/elbow.  This does two things.  It creates a feeling of security, it also requires that you have a deep twist to be successful.  If the student can find a controlled entry to the pose, then I’ll have them “float” their hip.  This is done by widening the stance of the hands.  Personally, I think floating the hip is a little easier, but done incorrectly, can encourage improper form that could be harmful to the shoulder and elbow.

Here are a few stages and variations to help you find Parsva Bakasana or explore the posture.

IMG_0823_2Option 1 – Squat Twist.  As I mentioned above, the twist is a key action and gateway to this side crow.  Work on a nice compact twist in a squatting position.  Focus on the knees hugging together and leveraging the triceps against the thigh to deepen the twist.  Think of the heart and the knees reaching in opposite directions, while keeping the shoulder heads broad and collarbone open.  Work to get your palms flat on the ground in the twist.

IMG_0826_2Option 2 – Heart Reach.  When you are satisfied with the twist, keeping the triceps grounded on the thigh, walk the hands away a couple of inches.  The hands should be about shoulder width.  Lift the heels and tail slightly as you reach the heart forward.  At the same time, bend the elbows, creating a caturanga shape in the arms.  Continue to pull the heart forward, bearing weight on the hands and maintaining the structure in the arms and shoulders.

IMG_0828_2Option 3 – Flight.  Moving slowly and with control, so not to strain or injure the shoulders, continue to pull the heart forward as you lift through the low belly, activating uddiyana bandha.  Eventually you will find the fulcrum point of balance.  Keep the reach of the heart and tap into your core energy to give lift and flight to the pose.  If falling forward is a concern, create a little crash pad with pillows or blankets.  Sometimes going just a bit too far can be a great teacher.

IMG_0821_2Option 4 – Float the Hip.  On the side where you were grounding the elbow to the hip, take the hand just a little wider before coming in to the pose.  Keep the action of the elbows drawing back and hug them towards the midline of the body without collapse.  Reach the heart forward and come into the pose, creating a line from the hip to toes that is parallel to the floor.  Prevent the hip from sagging to the floor.

The big twist of the torso is such a key component of this posture.  Working on your range of motion in twists will benefit this pose.  Twisting poses are great for detoxifying the organs.  They wring them out just like when you twist a soppy dishrag.  Be sure to follow-up a twisty practice with cleansing water and nourishing food.

The great thing about your yoga practice is that you can set a new resolution each time you step on the mat or with the start of each day.  Be sure to work where you feel challenged, but also where you can breath, relax around the work, and create positive energy.

Follow this weekly challenge @suzannewrightyoga on Instagram or at Suzanne Wright Yoga on Facebook.  If you post your pictures or share about your experience be sure to tag #PowerPose and @suzannewrightyoga.